
Last updated September 24, 2026
Free in-home measure and quote - PGT, CGI and CWS impact lines compared on your actual openings, style by style
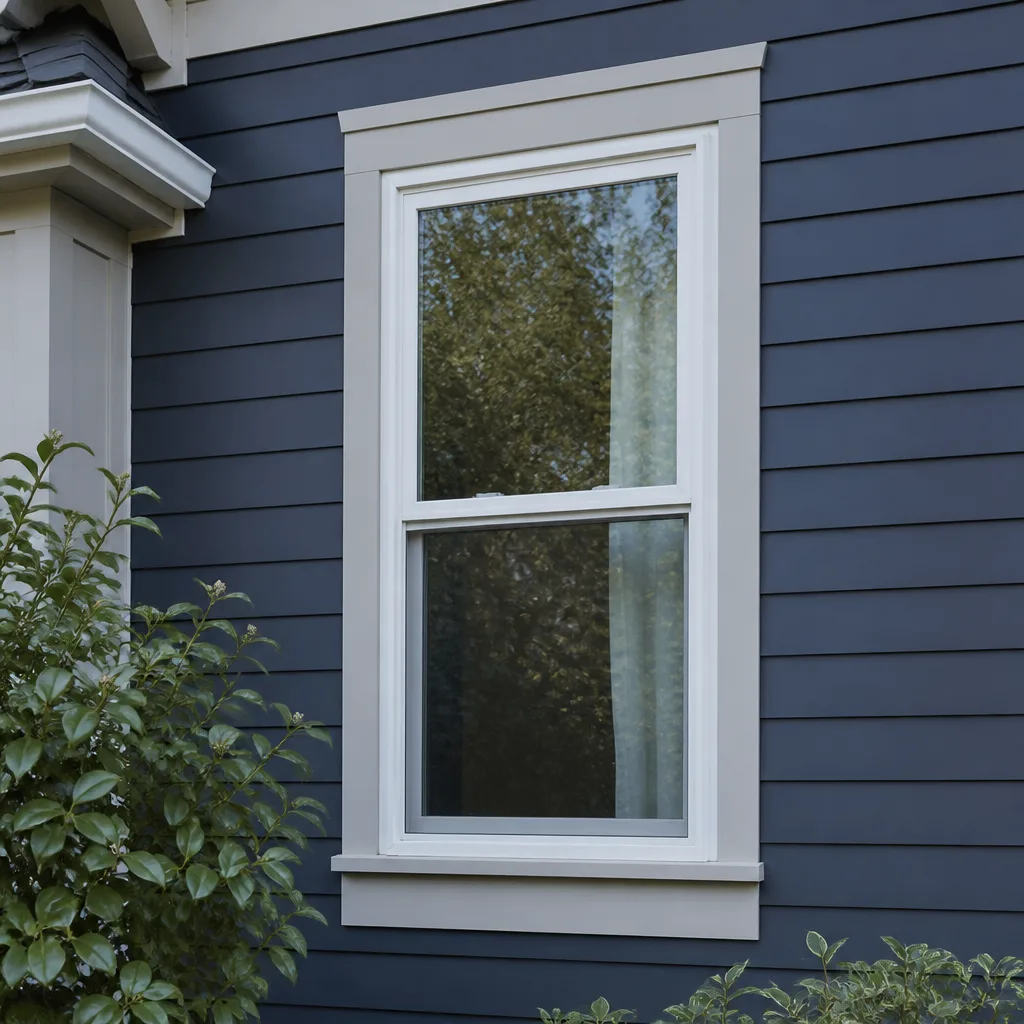
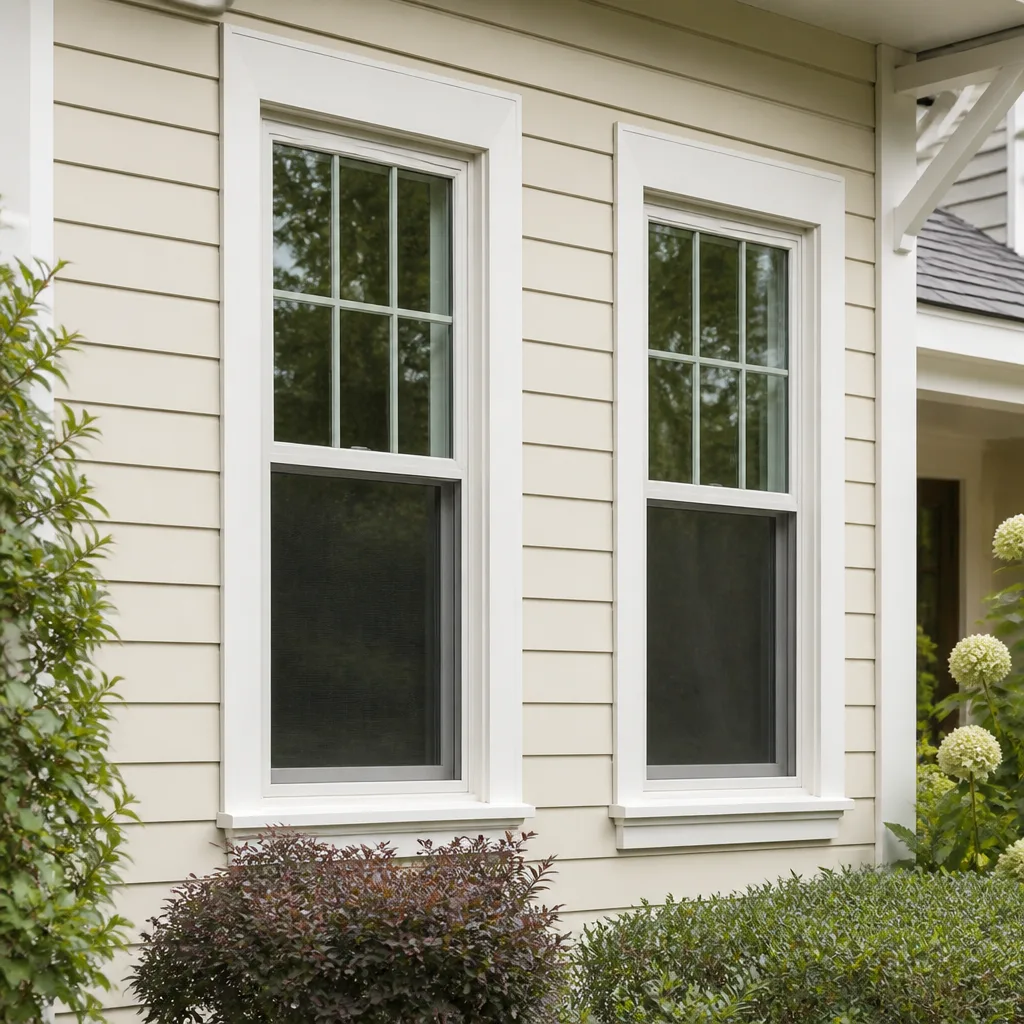
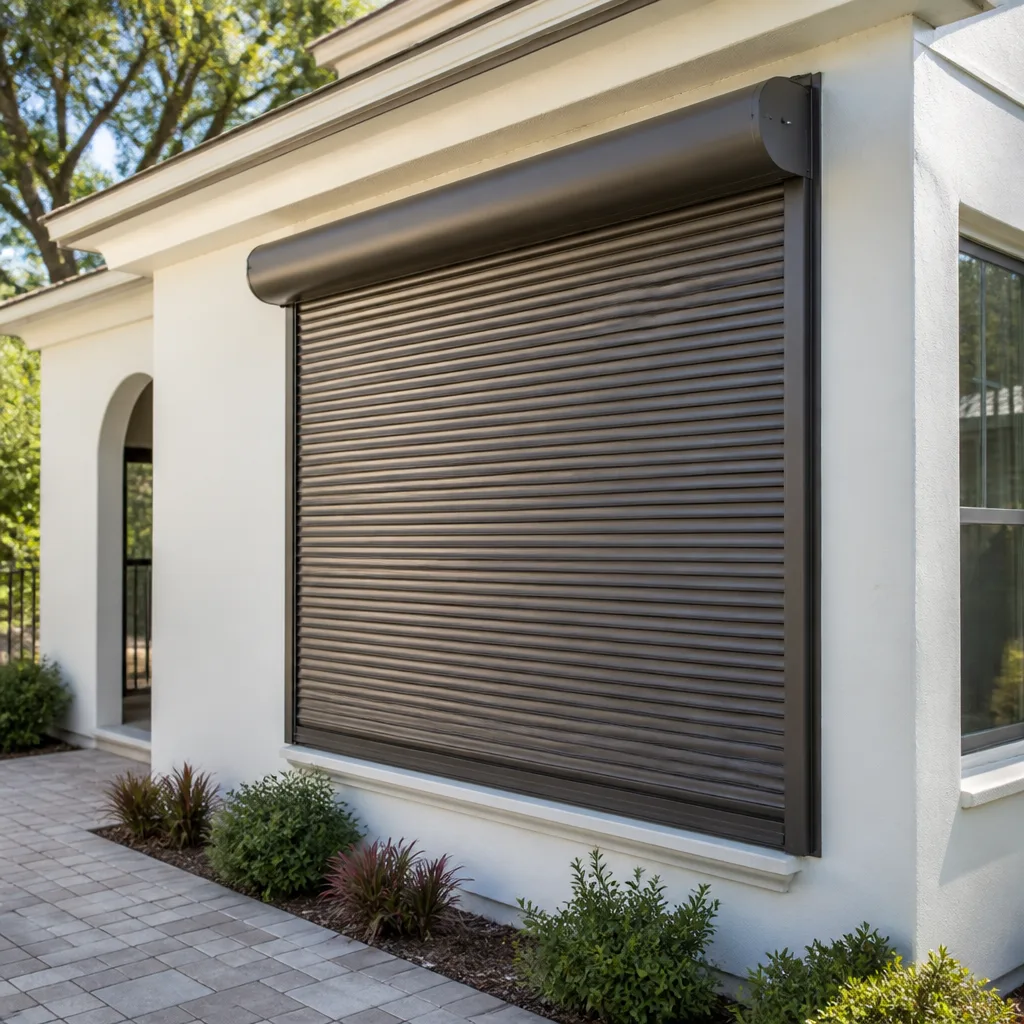
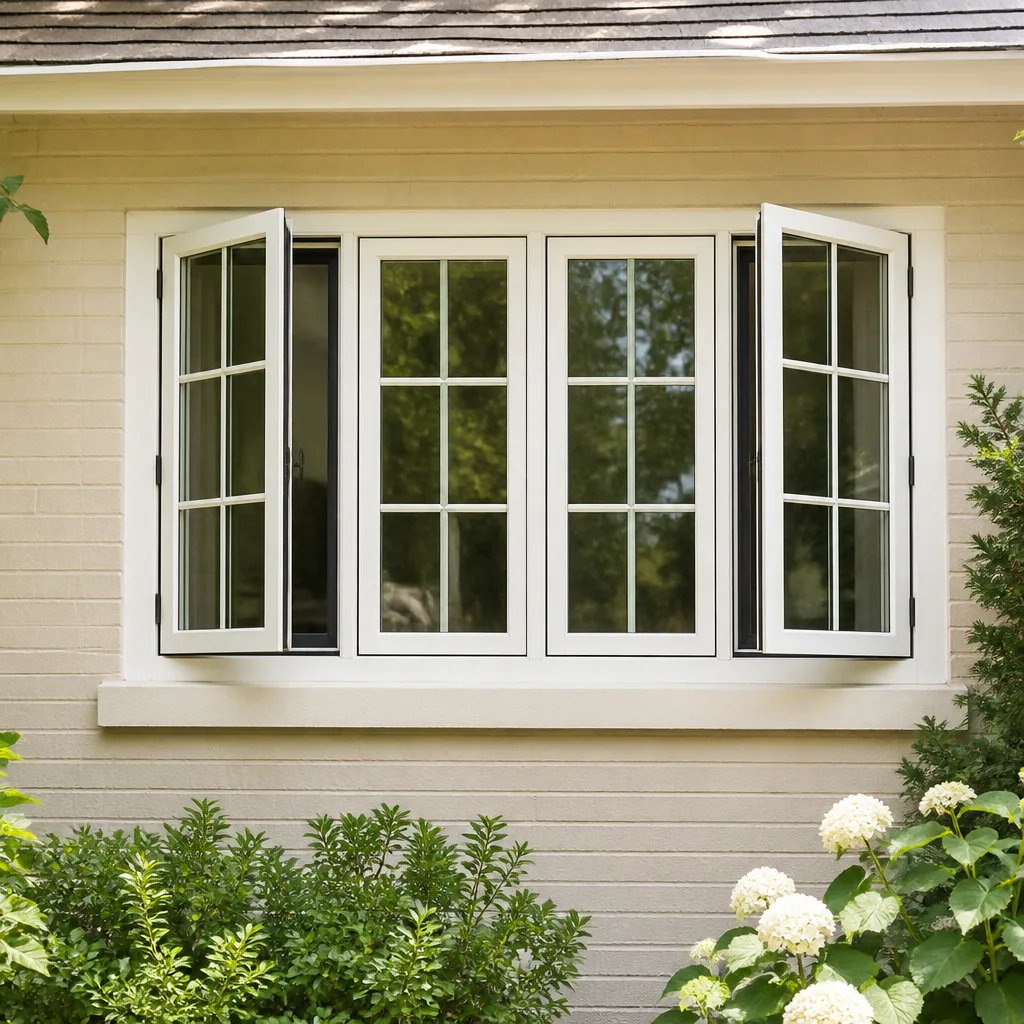
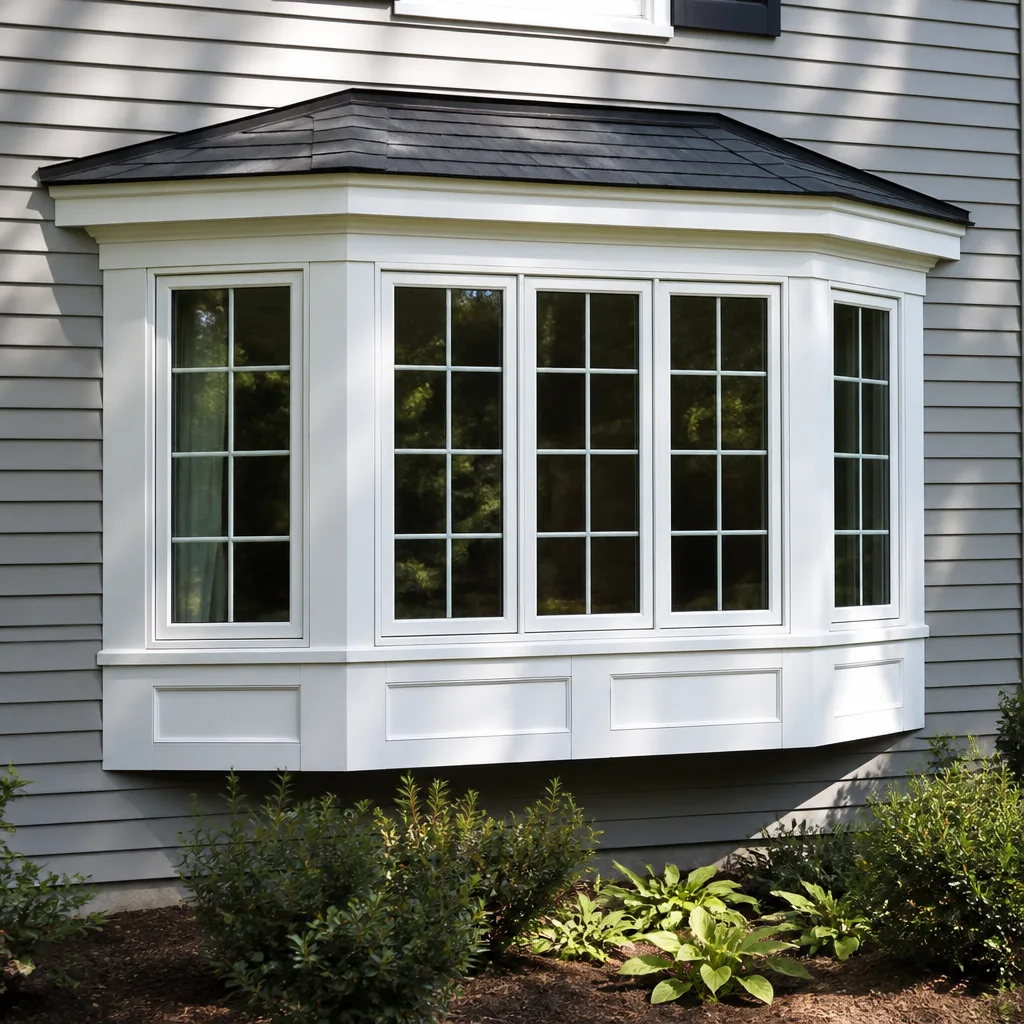
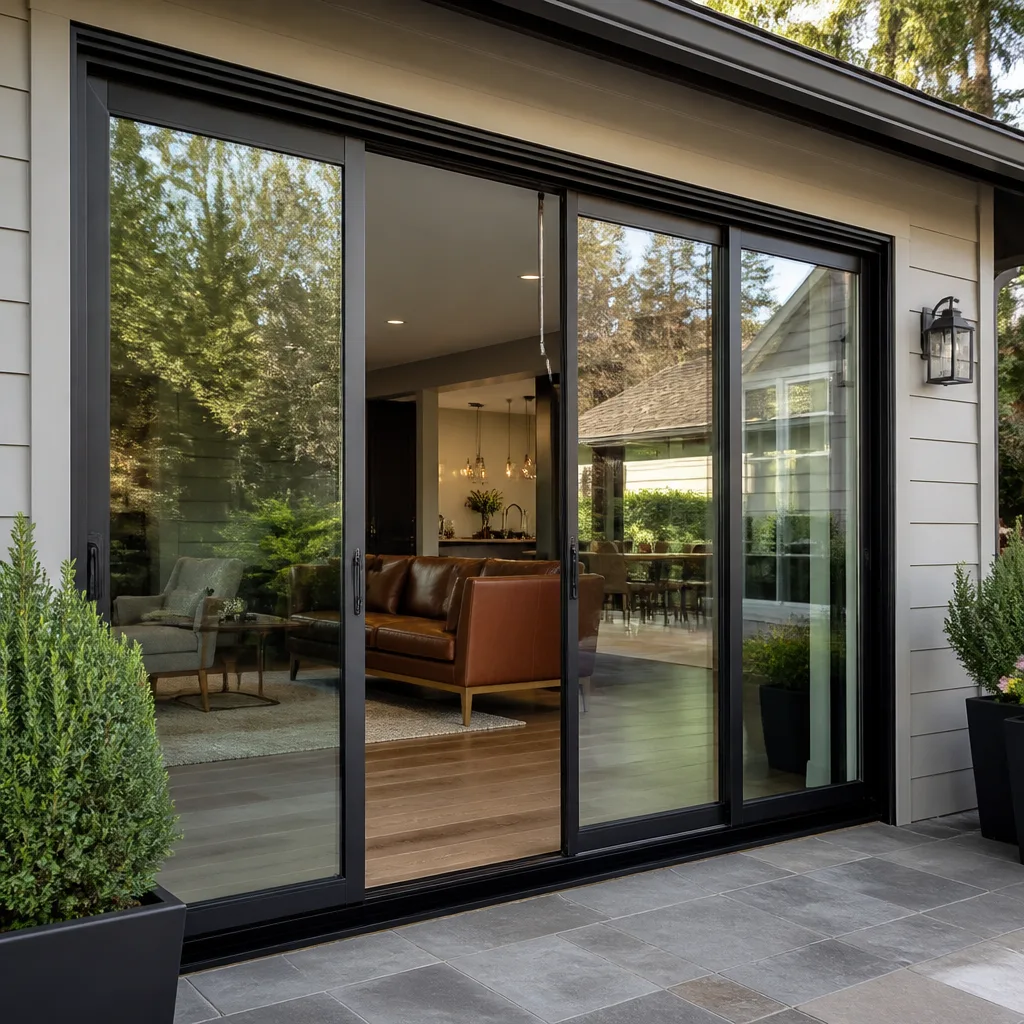
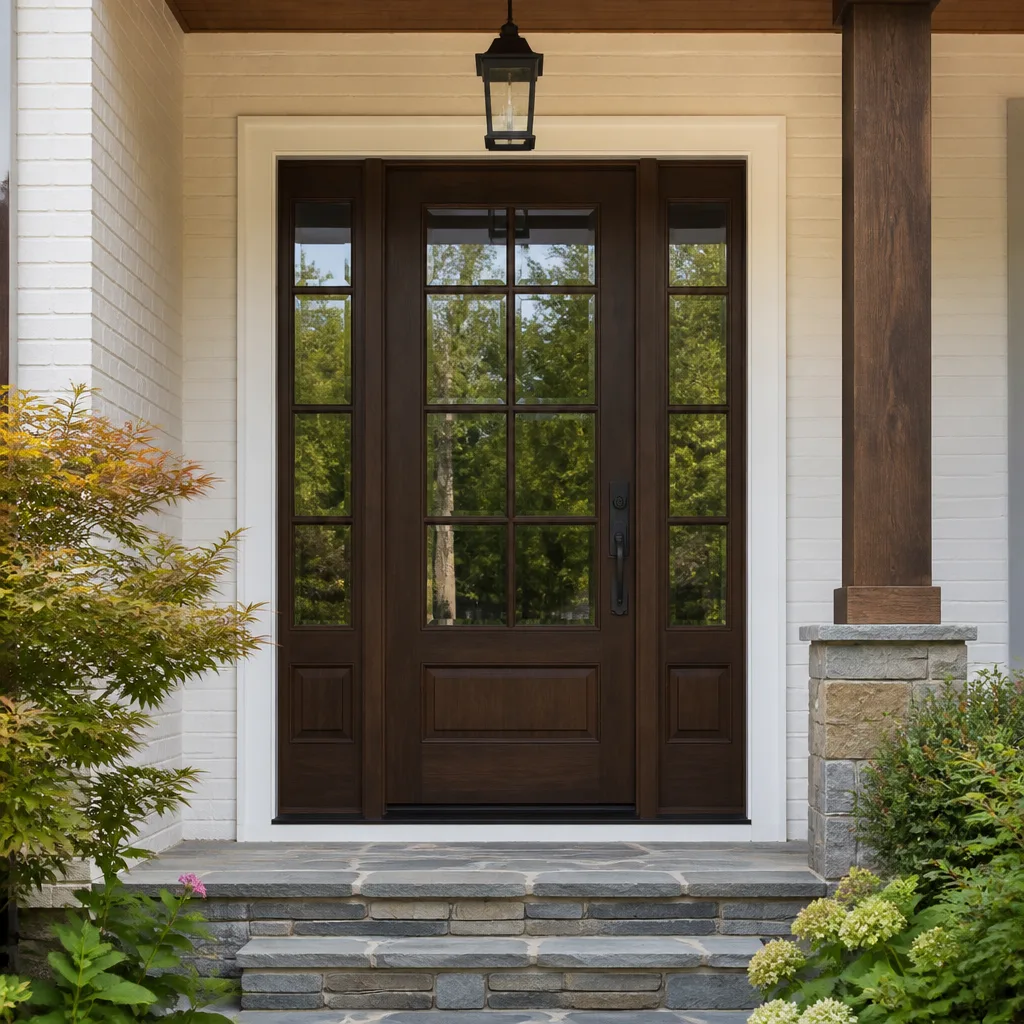



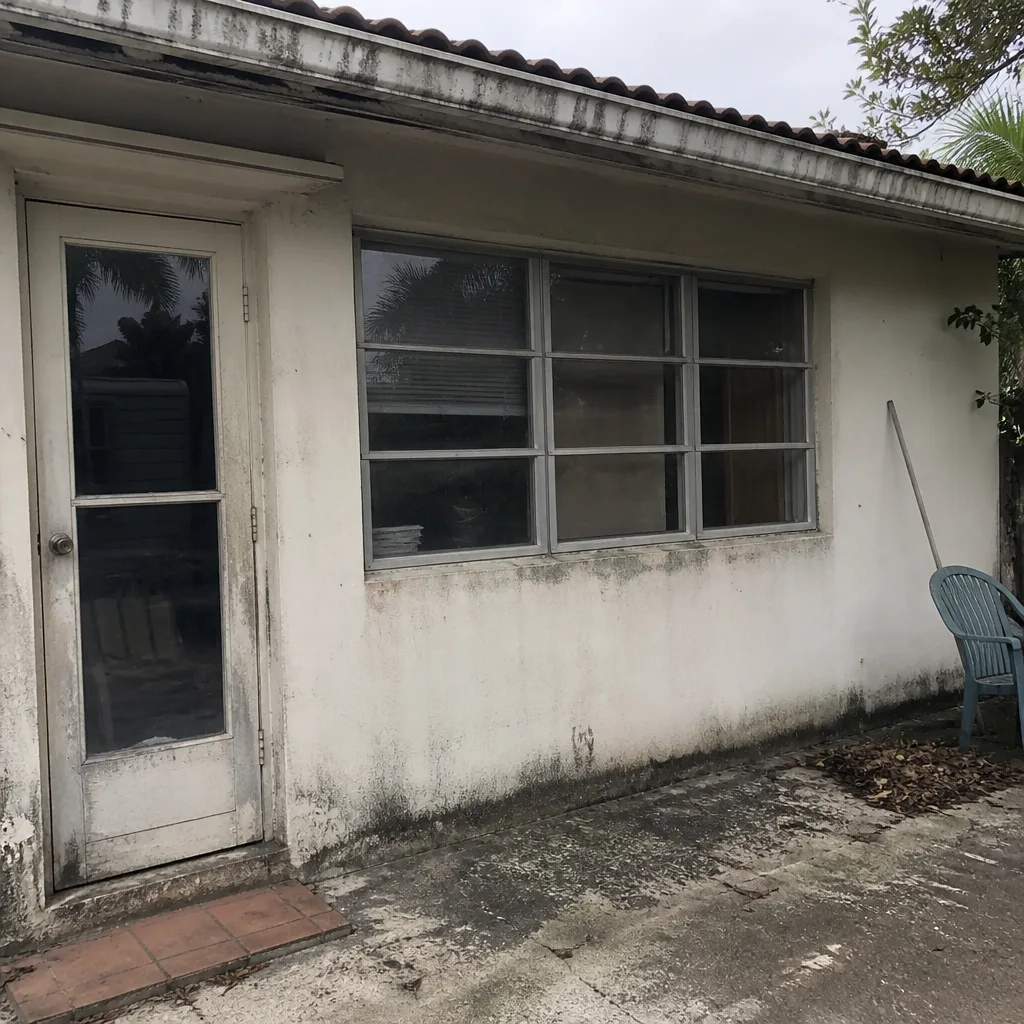 Before
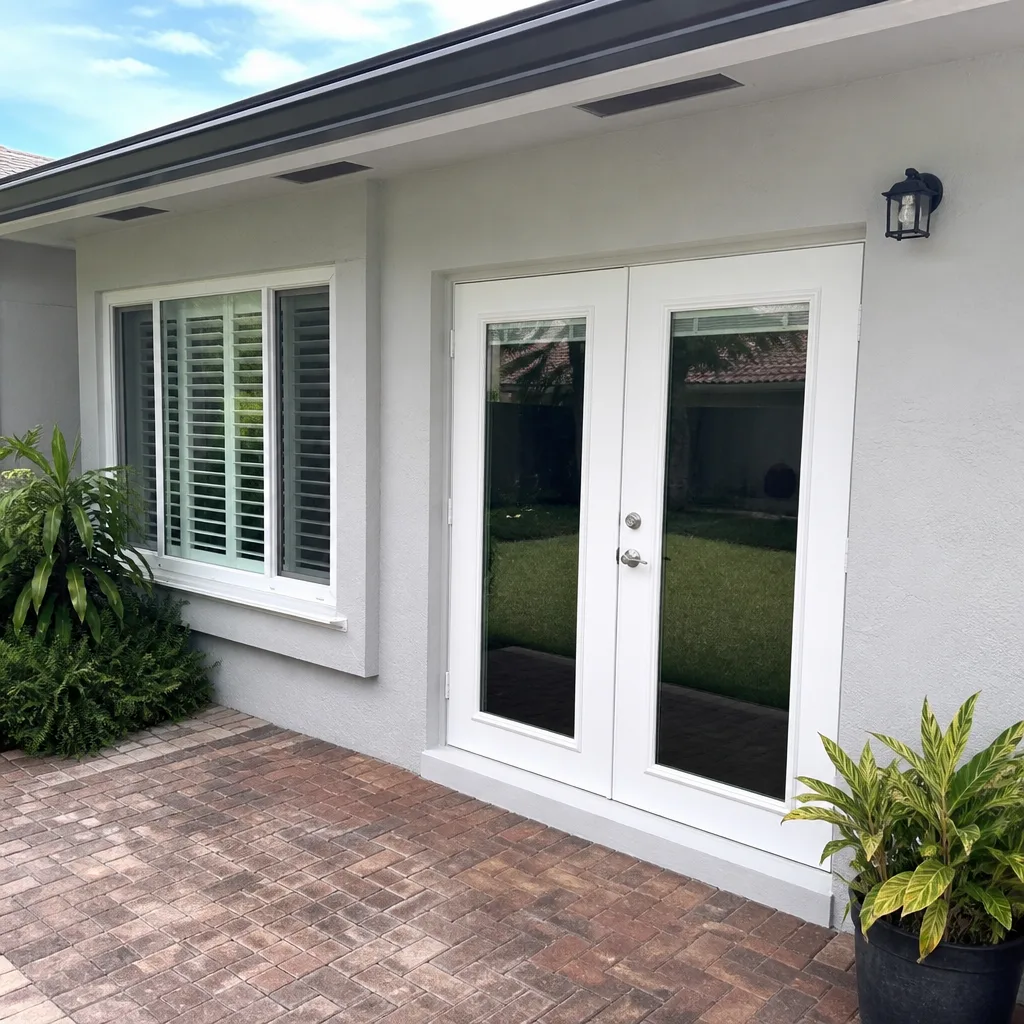 After
After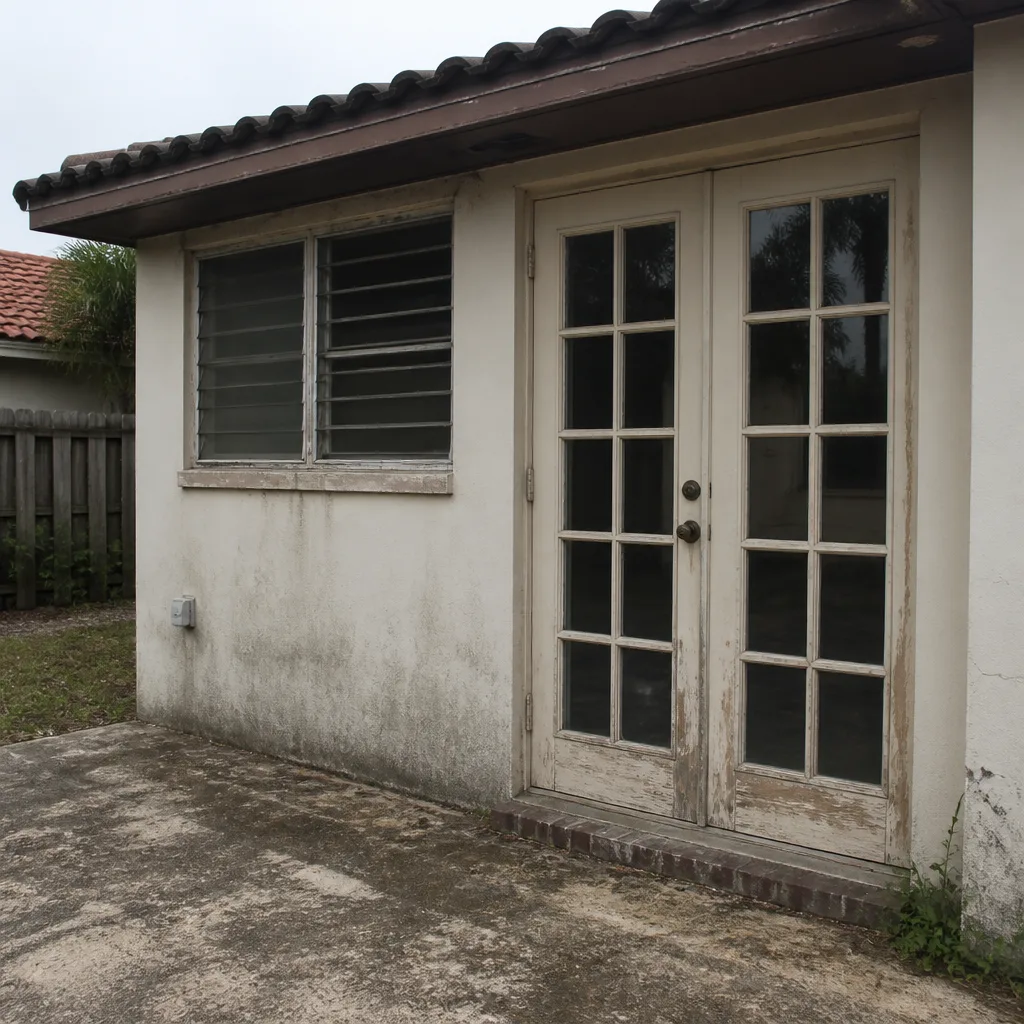 Before
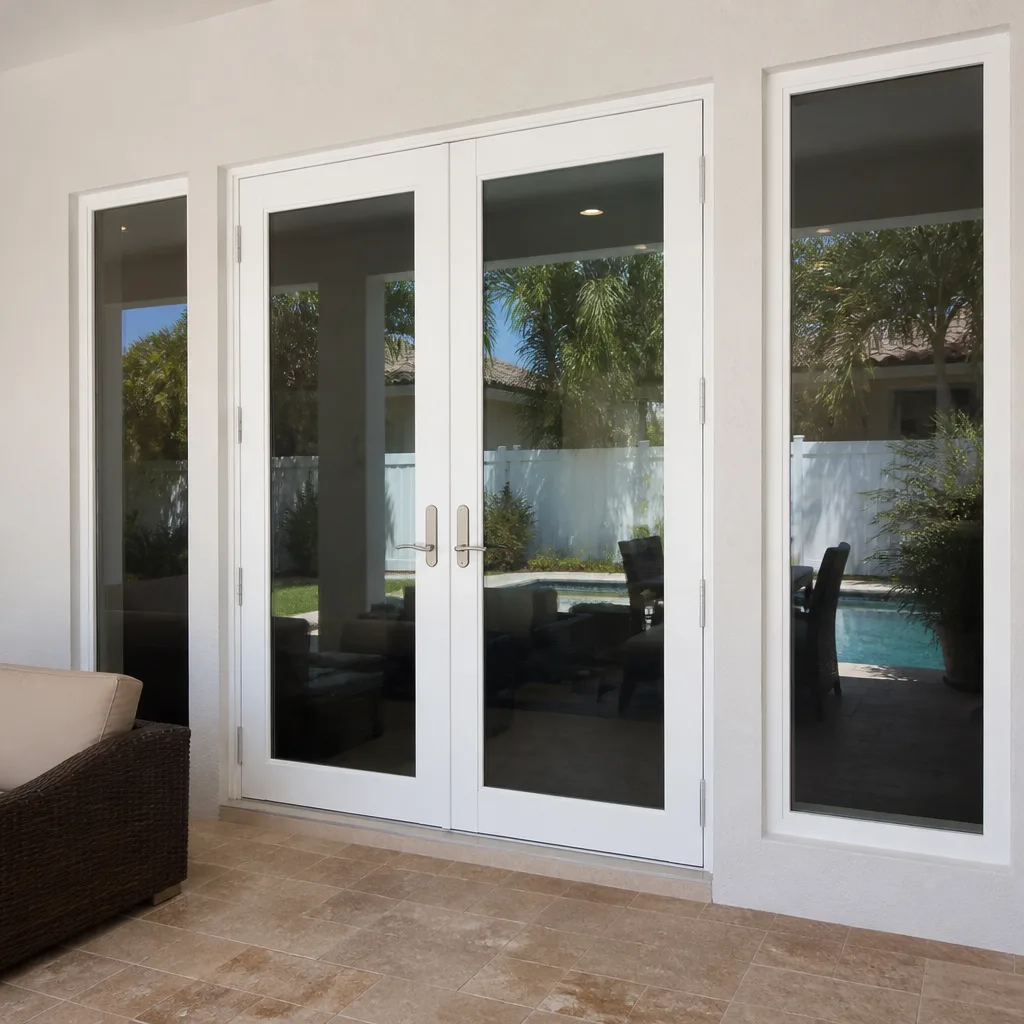 After
After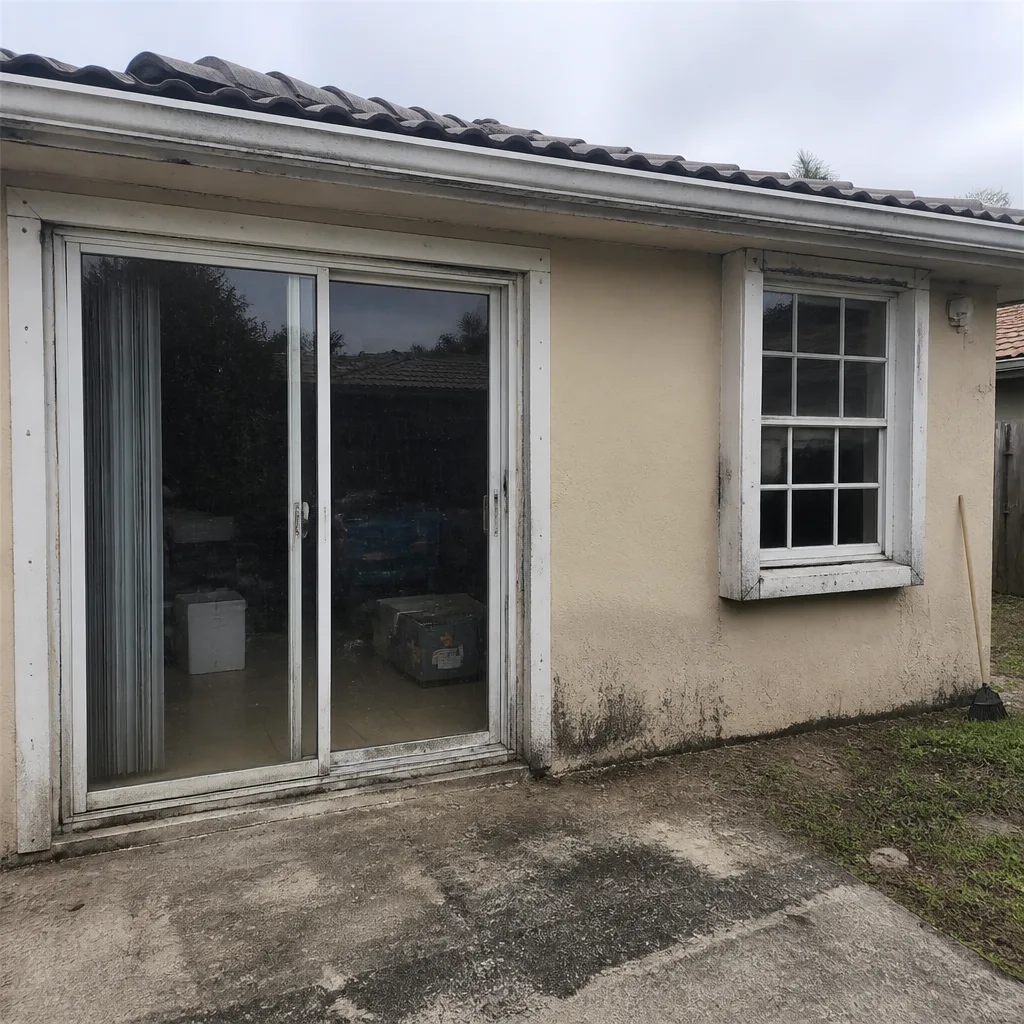 Before
 After
AfterWindow Installation Maintenance Checklist for Kendall Homeowners
A window installed correctly in 2018 can develop a failed water seal by 2024 not because the window failed, but because the weep holes were never cleared of the calcite deposit that South Florida water leaves behind - a task no installation warranty covers. In Kendall, where afternoon thunderstorms arrive on a predictable summer schedule and salt-laden southeast winds accelerate hardware corrosion on impact-rated units, the maintenance failures that shorten lifespan are localized, not generic. This guide maps a month-by-month maintenance calendar to Kendall’s actual weather patterns, with specific inspections for weep drainage, sealant integrity, and hardware function that manufacturer care guides overlook.
Quick Answer
Kendall homeowners should inspect window and door weep holes quarterly, test frame sealant integrity twice yearly, and lubricate impact-rated hardware every 90 days during salt-air season, or schedule Window Installation services for professional maintenance support. Document everything against your post-installation photo baseline. Most seal and drainage failures we see in Kendall’s 33173, 33176, 33183, and 33186 ZIP codes are preventable with this schedule.
Table of Contents
- Kendall’s Weather Calendar: When to Do What
- Weep Holes and Drainage Paths: The Most Skipped Inspection
- Testing Sealant Integrity Without Voiding Your Warranty
- Hardware Lubrication for Impact-Rated Units in Salt Air
- Using Your Photo-Documented Baseline for Comparison
- Tracking Energy Performance and Seal Degradation
- Common Mistakes to Avoid
- When to Call a Professional
- Frequently Asked Questions
 Before
 After
AfterKendall’s Weather Calendar: When to Do What
Generic maintenance guides divide the year into four seasons. Kendall has two: dry season, roughly November through April, and wet season, May through October, with a secondary pattern of afternoon thunderstorm pressure cycles that stress window seals from June through September. Your maintenance calendar should follow this rhythm, not a template written for Cincinnati.
January-February (Dry Season, Low Humidity)
This is your baseline documentation window. Humidity drops to 60-65% relative, condensation risk is minimal, and you can photograph frames and hardware without moisture distortion. We schedule our annual inspection calls for Kendall homeowners during these months because the conditions reveal the true state of sealant and frame alignment. Tasks: photograph all units for comparison; test operation of every window and door; inspect exterior sealant for shrinkage or separation; check weatherstripping compression set.
March-April (Transition, Rising Humidity)
Humidity climbs toward 70% and the first significant rains return. This is when poorly maintained weep systems reveal themselves - water that drained slowly in dry months now backs up against sill pans. Tasks: clear weep holes and drainage paths; verify sill pan pitch toward exterior; lubricate all hardware before salt season intensifies.
May-June (Wet Season Begins, Thunderstorm Pressure Cycles)
Barometric pressure swings of 10-15 millibars in a single afternoon are common during Kendall’s thunderstorm pattern. These cycles flex window frames and test seal adhesion at the frame-to-rough-opening joint. Tasks: inspect interior trim for new staining or paint bubbling; check exterior sealant for fresh cracking; monitor impact-rated units for frame rattle or operational stiffness.
July-September (Peak Wet Season, Salt Air Peak)
Southeast winds carry salt load from Biscayne Bay, and afternoon thunderstorms are nearly daily. Hardware corrosion accelerates; weep blockages from organic debris peak. Tasks: lubricate hardware every 90 days; clear weep holes monthly during heavy pollen and leaf drop; inspect drainage paths for calcite buildup from municipal water.
October-November (Transition, Hurricane Season Tail)
The final storm risk period. Tasks: verify impact-rated hardware locks and engages fully; confirm all drainage paths clear; document any new sealant issues before dry season documentation.
December (Dry Season, Planning)
Schedule any needed professional work before January demand peaks. Review your photo documentation against prior years.
Weep Holes and Drainage Paths: The Most Skipped Inspection

Weep holes are the small openings in the bottom rail of vinyl and aluminum window frames that allow water entering the glazing channel to drain to the exterior. In Kendall’s high-humidity, slab-on-grade construction, blocked weep holes do not just cause frame pooling - they channel water into the rough opening, where it rots sill plates and breeds mold in wall cavities. We see this in Kendall’s 1980s and 1990s construction regularly, particularly in homes near the Snapper Creek basin where the water table sits high.
Why Generic Guides Get This Wrong
Manufacturer literature typically says “keep weep holes clear” without specifying frequency or the local failure mode. In Kendall, the primary blockage is not dust or spider webs, though those occur. It is calcite deposit from evaporated municipal water, combined with organic debris from royal poinciana and live oak drop that composts in the glazing channel. The calcite is hard, white, and cement-like. A toothpick or compressed air will not remove it.
Step-by-Step Weep Inspection
- Identify all weep locations: typically two per sash on double-hung units, continuous slot on sliding windows, multiple points on impact-rated frames with internal drainage channels.
- Visually inspect from exterior with a flashlight. Look for white crusting, dark organic matter, or complete obstruction.
- Test drainage with a small water pour (1/4 cup) into the glazing channel from above. Water should exit weep holes within 30 seconds. If it pools, the path is blocked.
- For calcite removal: use a wooden skewer or plastic weep cleaning tool. Never metal wire, which can damage the weep baffle or scratch the frame finish.
- For organic debris: flush with fresh water, then verify drainage speed.
- Inspect the sill pan beneath the window. In Kendall’s slab construction, the sill pan should pitch toward exterior weeps. Standing water indicates improper original installation or settled framing.
Impact-Rated Units: Additional Complexity
PGT and CGI impact-rated windows use internal drainage channels with multiple weep points and often a secondary pressure-equalization chamber. These systems are more tolerant of single-point blockage but catastrophic if the main channel obstructs. The channel exit is typically concealed behind a snap-on cover that requires removal for inspection. We document this on every window installation in Kendall with a photo showing cover location and removal direction.
Testing Sealant Integrity Without Voiding Your Warranty
Window manufacturer warranties cover defects in materials and workmanship. They do not cover sealant failure at the frame-to-rough-opening joint, which is the installer’s scope and the homeowner’s maintenance responsibility. Testing this sealant is essential, but doing it wrong - cutting into sealant beads, applying incompatible solvents, or using high-pressure water - can void warranty coverage by creating damage the manufacturer did not cause.
The Visual-Tactile Method
This is the inspection protocol we teach Kendall homeowners during our post-installation walkthrough. It requires no tools that contact the sealant.
- From the exterior, examine the sealant bead where the window frame meets the wall surface. Look for: shrinkage (bead narrower than original), cracking (surface fissures or through-cracks), separation (bead pulling away from frame or wall), and discoloration (chalking, yellowing, or mold staining that indicates moisture behind).
- From the interior, repeat the inspection at the interior trim-to-frame joint. Note any new gaps or paint lines that suggest movement.
- The paper test: slide a standard sheet of printer paper between the sealant bead and the frame. If it penetrates more than 1/8 inch, adhesion has failed at that point. Do not force it; mark the location for professional evaluation.
- The mist test: on a dry day, mist the exterior with a garden sprayer set to fine droplets, not stream. Observe interior trim for 10 minutes. Moisture at the frame edge indicates a breach. Do not use a pressure washer; the force can drive water into a sound sealant joint and create a false positive, or damage a marginal one.
What the Results Mean
Localized adhesion failure (one or two points, less than 2 inches) can often be repaired with compatible sealant by a qualified installer. Widespread shrinkage or cracking indicates the original sealant was incorrectly specified for Kendall’s UV exposure and thermal cycling, or has reached end of service life. Full removal and reapplication is required. This is not a DIY task on impact-rated units; the sealant is part of the pressure envelope and must be continuous.
We document original sealant type and application date on every window replacement in Kendall so future inspections have a reference point. If your installer did not provide this, request it. Haven Clause 1: Have it in writing.
Hardware Lubrication for Impact-Rated Units in Salt Air

Impact-rated windows and doors use heavier hardware to manage the mass of laminated glass and the structural loads of wind-borne debris resistance. This hardware is typically zinc-aluminum alloy or stainless steel with a protective coating. In Kendall’s salt-air environment, particularly within two miles of Biscayne Bay or the Snapper Creek canal system, the corrosion rate is measurably higher than inland Florida. We see seized casement operators and sticking sliding door rollers at 3-4 years in coastal Kendall, versus 6-8 years in western Miami-Dade.
Lubricant Selection
Not all lubricants are compatible with window hardware. Petroleum-based products (WD-40, 3-in-1 oil) attract dust and can degrade nylon rollers and weatherstripping. Silicone spray is acceptable for some applications but provides poor corrosion protection. We specify a dry-film PTFE lubricant with corrosion inhibitor for most Kendall applications, or a lithium-complex grease for high-load sliding door rollers. The product specification is part of our documented handoff on every job.
Lubrication Schedule by Hardware Type
- Casement operators (crank-out windows): Every 90 days during salt season (May-October), every 6 months during dry season. Apply to operator arm pivot points and the hinge track. Cycle the window fully open and closed to distribute.
- Single-hung and double-hung balances: Annual inspection, lubricate only if operation stiffens. Over-lubrication attracts debris to the balance chamber.
- Sliding window and door rollers: Every 90 days during salt season. Remove debris from the track first, then apply to roller bearings through the access port if present, or to the axle point. Never lubricate the track itself; this causes roller slippage and uneven wear.
- Multi-point locking systems (impact doors): Every 90 days. Apply to each locking point and the main gearbox. Cycle the handle through locked and unlocked positions.
- Hinges (French doors, casements): Every 6 months. Inspect for corrosion at the pin first; if present, the hinge requires replacement, not lubrication.
The Lock Test
Every lubrication interval, test that impact-rated locks engage fully. A lock that requires extra force to close is not “just stiff” - it is misaligned or corroding internally. Forcing it will distort the locking point or crack the laminated glass edge. This is a common failure mode in Therma-Tru and ViewLux impact door systems we service in Kendall’s older installations.
Using Your Photo-Documented Baseline for Comparison
Every installation Sightline completes under the Haven Standard includes a documented photo record: frame condition before work, rough opening state, installed unit with level and square readings, sealant application, and final hardware function test. This is not marketing photography. It is evidence, and it is your baseline for future maintenance comparison.
What a Proper Baseline Contains
If your installer did not provide this, you can create your own. The essential shots:
- Exterior wide shot of each window or door, showing full frame and surrounding wall.
- Close-up of sealant bead at frame-to-wall joint, both sides.
- Weep hole locations, clearly lit.
- Hardware in locked and unlocked positions.
- Interior trim condition, with any existing stains documented.
- Level and square readings if available, or a plumb reference.
Store these with dates and unit identifiers (e.g., “Master bedroom east window, 01/15/2024”). Cloud storage with date stamps is sufficient; the key is organization.
How to Use the Baseline
During each scheduled inspection, retake the same shots from the same position. Compare:
- Sealant bead width and continuity. Shrinkage of 1/16 inch is measurable in a side-by-side.
- Frame position relative to wall surface. Settlement or expansion can shift the unit.
- Hardware finish. Pitting or discoloration that was absent at installation indicates corrosion beginning.
- Interior trim. New stains that do not appear in the baseline indicate water entry since installation.
In our experience with Kendall homes, homeowners who maintain a photo baseline identify seal failures 12-18 months before they become visible interior damage. The cost difference between sealant repair and drywall/mold remediation is typically $800-$2,400 per opening.
Tracking Energy Performance and Seal Degradation
Window energy performance degrades before it fails. In Kendall, where cooling loads dominate and FPL rates have risen steadily, the first sign of seal degradation is often the electric bill, not a visible window problem. The mechanism is specific to our climate: the inert gas fill (typically argon) between double-pane lites escapes through micro-permeation at the edge seal, accelerated by thermal cycling. The remaining air space convects more readily, reducing the effective R-value. Kendall’s 90°F daily highs and 75°F lows in summer create more annual thermal cycles than northern climates, accelerating this process.
Signs of Seal Degradation
- Condensation between panes that clears as the day warms, then returns overnight. This is not “normal humidity”; it is a breached edge seal.
- Glass surface that feels distinctly warmer or cooler than adjacent units on the same exposure.
- Increased HVAC runtime without thermostat change, particularly in rooms with south or west exposure.
- UV fading of furnishings near a window that was previously protective. This indicates low-E coating degradation, often from seal failure allowing atmosphere into the gap.
Measurement Without Equipment
Homeowners can track relative performance without specialized tools. On a sunny afternoon, place the back of your hand 6 inches from the interior glass surface. Compare to a known-good window on the same exposure. A significantly warmer sensation indicates degraded performance. Document the date and which units test warmer; this creates a priority list for professional evaluation.
When Replacement Becomes Necessary
Failed edge seals in double-pane units are not repairable. The insulated glass unit (IGU) must be replaced, or the entire sash if the IGU is not separately orderable. For units under 10 years, IGU replacement is typically cost-effective. Beyond 15 years, frame technology has improved sufficiently that full replacement often yields better return through improved U-factor and SHGC ratings. We specify PGT and ECO Window Systems products for Kendall replacements when energy performance is the primary driver, with U-factors as low as 0.25 and SHGC ratings tailored to exposure.
Common Mistakes to Avoid
- Pressure-washing window frames directly. High-pressure water drives past weatherstripping, floods weep channels, and can force water into the rough opening. Use a garden hose with a fan nozzle, angled downward, at low pressure.
- Using vinegar or acidic cleaners on anodized aluminum frames. Kendall’s water is moderately hard; homeowners often reach for vinegar to remove spotting. This etches the anodized finish, accelerating corrosion in salt air. Use pH-neutral cleaner specified for anodized aluminum.
- Ignoring the sill pan in slab construction. Kendall’s slab-on-grade homes lack the basement or crawl space that would catch and reveal drainage failures. Water that misses the sill pan flows directly into the wall bottom plate. Inspect sill pan pitch annually.
- Lubricating tracks, not hardware. Silicone spray on sliding window tracks feels like improvement for two weeks, then attracts grit that accelerates roller wear. Lubricate bearings and pivot points only.
- Waiting for visible interior damage. By the time drywall stains appear in Kendall’s humid construction, mold has been active in the wall cavity for months. The maintenance schedule in this guide is designed to catch issues before interior signs.
- Assuming impact-rated means maintenance-free. Impact hardware is heavier, more complex, and more exposed to salt corrosion than standard hardware. It requires more frequent attention, not less.
- Not documenting who installed what. When sealant fails or hardware seizes, the manufacturer, installer, and homeowner each have distinct warranty obligations. Without documentation, all three parties dispute responsibility. Haven Clause 1 exists for this reason.
When to Call a Professional
Some maintenance indicators require trained evaluation. Call a qualified window and door contractor if: you find standing water in the sill pan that does not drain within 24 hours after clearing weep holes; the paper test reveals sealant adhesion failure exceeding 6 continuous inches; hardware requires increasing force to operate despite lubrication; condensation between panes persists for more than 48 hours; or you observe frame movement, cracking, or separation from the wall structure.
For door installation in Kendall or window service, Sightline Windows & Doors Kendall offers free estimates. We will review your documentation, inspect against your photo baseline if available, and provide a written scope and price before any work proceeds. Call (786) 321-3319 to schedule.
Frequently Asked Questions
Inspect weep holes quarterly, and monthly during peak pollen and leaf drop from May through September. Kendall’s royal poinciana and live oak debris, combined with calcite from hard water evaporation, blocks weep paths faster than the annual inspection most manufacturer guides suggest. Call (786) 321-3319 for an exact quote on professional weep system cleaning - estimates are free.
No. WD-40 is a water-displacing penetrant, not a lubricant, and its petroleum base attracts dust while degrading nylon components common in modern window hardware. Use a dry-film PTFE lubricant with corrosion inhibitor, or the specific product your installer documented. If no product was specified, call for guidance rather than guessing.
Dirty sealant cleans with mild soap and water. Failing sealant shows shrinkage, cracking, separation, or allows the paper test penetration described in this guide. Discoloration alone is not failure; physical deformation or adhesion loss is. If you cannot distinguish between the two, professional evaluation protects your warranty position.
Professional weep system cleaning and hardware service typically runs $85-$150 per opening. Sealant repair ranges $200-$400 per linear foot of affected joint, depending on access and original sealant removal requirements. Full IGU replacement for failed seals runs $350-$700 per sash, with frame replacement starting around $800 per opening for standard sizes. We provide written line-item quotes before any work; the measured survey and the quote are the same document.
Proper maintenance preserves warranty coverage; improper maintenance voids it. Use only manufacturer-specified products and methods. Avoid cutting into sealant beads, applying solvents to frame finishes, or disassembling hardware. Document your maintenance with dates and photos. If in doubt, request written guidance from the manufacturer or your original installer.
Vinyl and aluminum-framed windows with proper maintenance last 20-30 years in Kendall’s climate, though impact-rated hardware typically requires replacement at 10-15 years due to salt-air corrosion. The limiting factor is usually seal degradation (10-20 years) rather than frame failure. Units installed without proper sill pan drainage or with incompatible sealant may fail at half these intervals. Our 365-Day Done Right Promise covers installation-related failures; manufacturer warranties cover material defects.
The Bottom Line
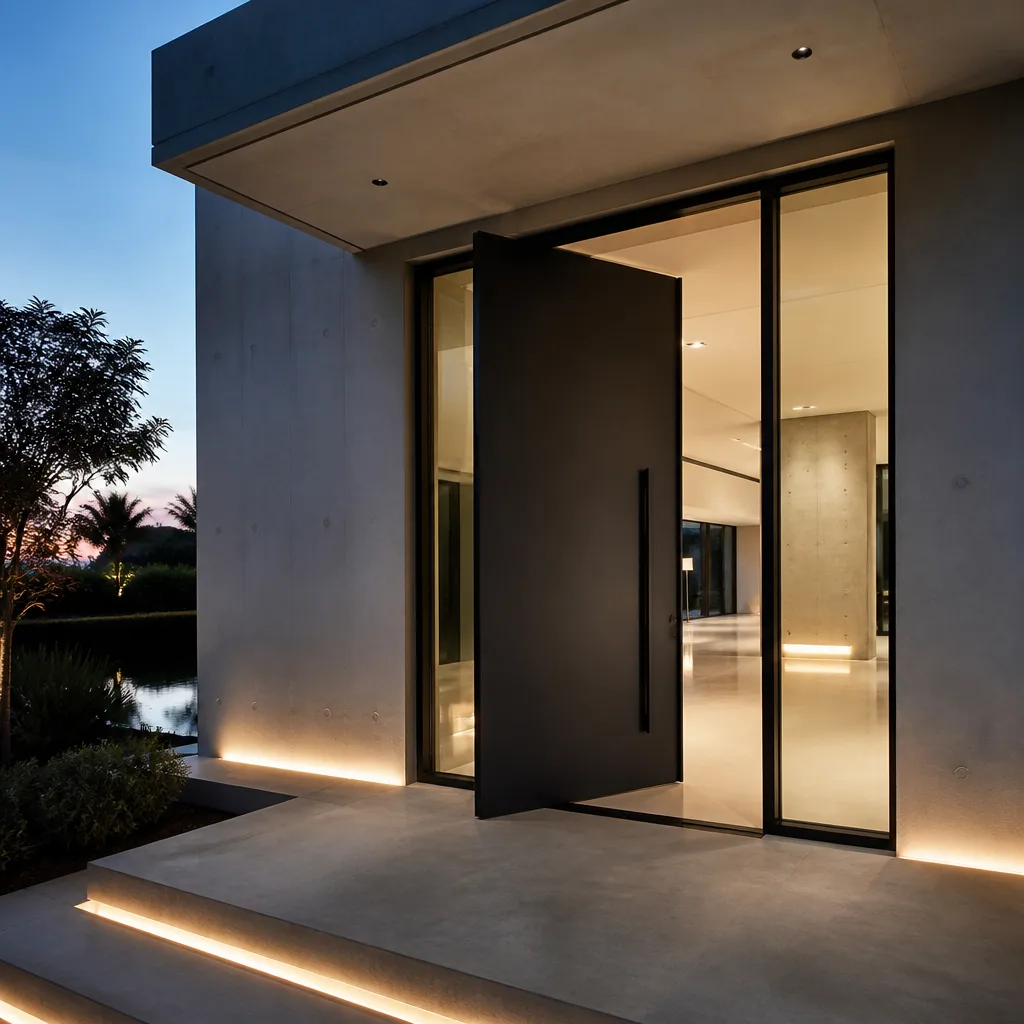
Kendall’s climate imposes specific maintenance demands that generic guides miss: quarterly weep inspection for calcite and organic debris, 90-day hardware lubrication during salt season, sealant testing without invasive methods, and photo-documented baselines for comparison. The failures that shorten window life here are preventable with disciplined scheduling aligned to actual local weather patterns, not calendar quarters, as covered in more guides & resources on our site. Maintain the schedule, keep the documentation, and know when a indicator requires professional evaluation rather than homeowner intervention.
Written by Sonia Raman, Owner at Sightline Windows & Doors Kendall, serving Kendall since 2012.